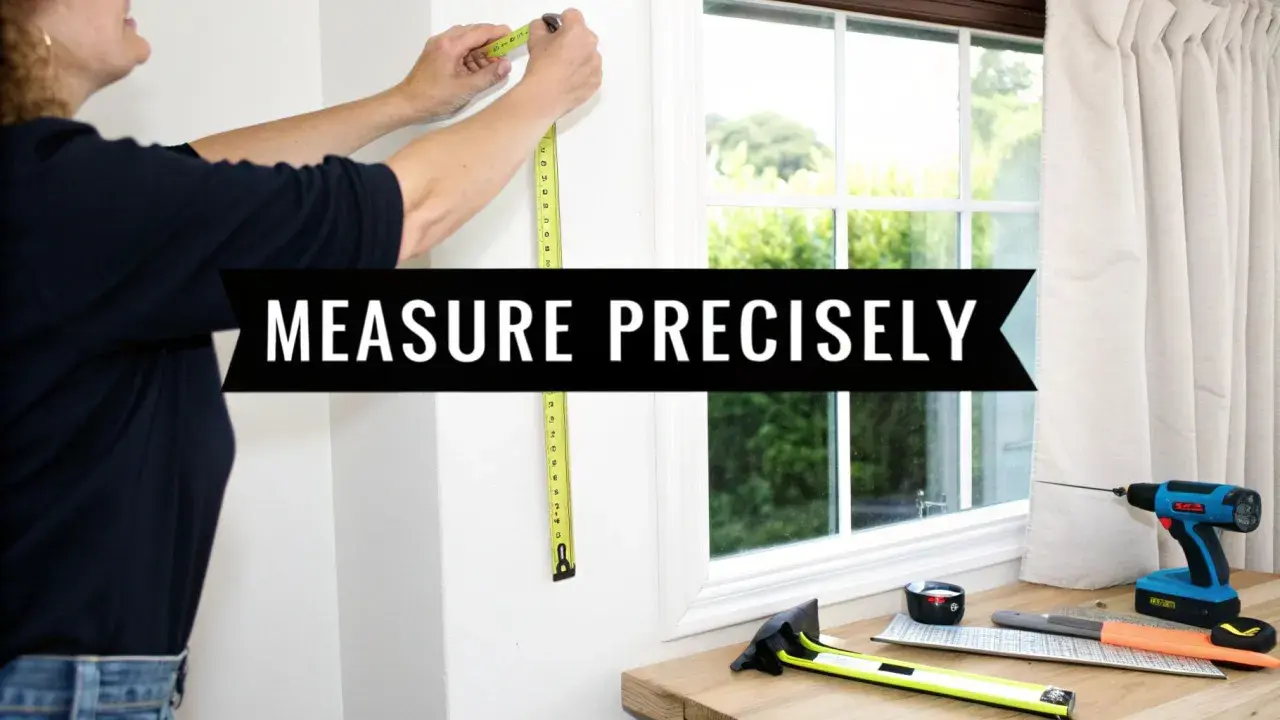
Key measurements to get right before you order
- Measure the pole or track, not just the window glass, because that is what the curtains actually hang from.
- For pinch pleats, the drop usually starts from the underside of the ring fitting or from the track position, depending on the system.
- Take three drop measurements - left, centre, and right - and use the shortest usable one.
- If no hardware is fitted yet, allow extra width beyond the window so the curtains can stack back cleanly when open.
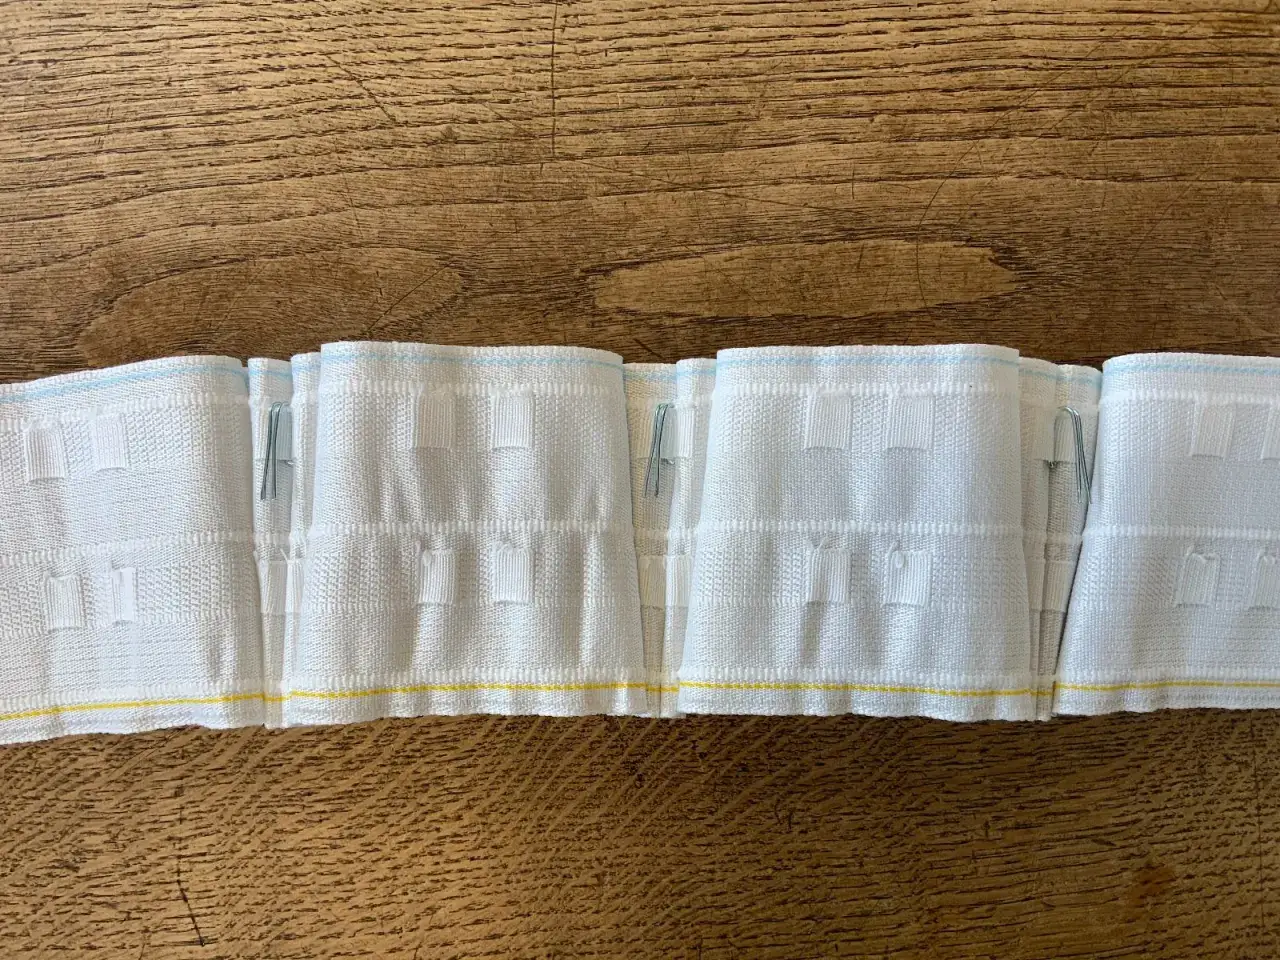
- Double pinch pleats usually work around 2x fullness, while triple pinch pleats often need at least 2.5x.
- Accurate measuring reduces remakes, fabric waste, and the sort of “almost right” result that is expensive to fix later.
Start with the hanging system, not the glass
Pinch pleat curtains are shaped around the hardware, so the first decision is whether you are using a curtain pole or a track. That matters because the curtain does not hang from the window frame itself; it hangs from rings, hooks, or carriers, and each of those changes where the top of the curtain starts. If you measure only the visible glass, you are guessing the wrong number.
In practical terms, I look for three things before I touch the tape measure: the pole width, the drop point, and the stack back space. Stack back is the folded width of the curtain when it is open, and it is easy to forget until the curtains feel cramped at the sides. Once that is clear, the width measurement becomes much easier to trust.
| Setup | What to measure | Why it matters |
|---|---|---|
| Curtain pole already fitted | Measure between the finials, not the decorative ends | This gives the actual hanging width |
| Curtain track already fitted | Measure end to end | The track length is the true working width |
| No hardware installed yet | Measure the window and add space for returns and stack back | Prevents curtains from covering too much glass when open |
Once the system is identified, the width can be measured properly, and then the drop becomes the next part to get right.
Measure the width the way a workroom expects it
For a fitted pole or track, I measure the full usable width and ignore decorative extras. On a pole, that means from finial to finial. On a track, it means the full end-to-end length. If the track has an overlap section, include that overlap in the final figure rather than leaving it out and hoping the workroom will guess the rest.
If the pole or track has not been installed yet, I start from the window width and add enough on each side for the curtains to clear the reveal. A sensible starting point is 20-30 cm each side, then adjust for the wall space you actually have, the projection of the pole brackets, and any radiator, furniture, or window handle that sits in the way. For a standard window, that extra width is what helps the curtains look generous instead of pinched.
As a rough example, a 180 cm window often ends up needing a pole closer to 220 cm once you allow for side returns. That does not mean every room needs the same number, but it shows why the pole width and the glass width are rarely the same thing. The more open the stack back can be, the better the curtains will frame the window when they are drawn aside.
When I am recording width, I keep everything in centimetres and write it down immediately. Mixing units is a small mistake that turns into a big one at ordering stage, so I never trust memory here.
With width captured correctly, the drop is where most people still lose accuracy, so that is the next measurement to handle carefully.
Get the drop right for sill, floor, or puddled curtains
Pinch pleat curtains usually look best when the top is positioned cleanly and the hem lands exactly where you want it. The safest method is to take three drop measurements - left, centre, and right - because floors and sills are not always perfectly level. I keep the shortest usable measurement, then make only the small adjustment needed for the finish I want.
| Finish | How I measure it | Typical allowance |
|---|---|---|
| Sill length | Measure from the hanging point down to the sill | Deduct about 1 cm if you want the curtain to sit just above the sill |
| Below sill | Measure to the point where you want the hem to finish below the sill | Allow enough clearance so the fabric does not sit awkwardly on the window ledge |
| Floor length | Measure from the hanging point to the floor | Deduct about 1-1.5 cm so the hem does not drag |
| Puddled | Use the floor measurement as the base, then add extra length | Add only as much as the fabric and room can support, usually a subtle to moderate puddle |
For pinch pleat curtains on a pole, the drop often starts from the underside of the ring fitting. On a track, it starts from the point specified by the maker, which is usually the top or underside of the track profile depending on the fitting system. That distinction sounds minor, but it is exactly where people lose a few centimetres and end up with curtains that kiss the floor too much or hover awkwardly above it.
If you have a radiator under the window, I would not force the curtain to sit on it. In those rooms, a finish just above the radiator is cleaner and more practical. The goal is a controlled drop, not a length that looks accidental.
Once the drop is set, the next question is how much fabric the pinch pleat heading needs to create the right look.
Choose the fullness that suits the pleat style
Fullness is the ratio between the finished curtain width and the track or pole width. It is what gives pinch pleat curtains their structured folds, and it is also what separates a crisp made-to-measure look from one that feels underfilled. I treat fullness as part of the measurement, not a decorative afterthought.
| Pleat style | Typical fullness | What it gives you |
|---|---|---|
| Double pinch pleat | About 2x the track or pole width | A neater, slightly lighter look with defined folds |
| Triple pinch pleat | At least 2.5x the track or pole width | A fuller, more traditional drape with deeper structure |
The important thing is that fullness changes how the curtain behaves when open and closed. Heavier fabrics need more space to stack back neatly, and linings add body as well. A stiff buckram heading - the reinforced strip that holds the pleats in shape - also affects how structured the top looks once it is hung. This is why I never assume every pinch pleat curtain should be ordered the same way.
If you want a room to feel calm and tailored, I would usually favour a more exact finish rather than overstuffing the width. Too little fullness looks flat; too much can overwhelm a small room and eat into the light at the edges of the window. The right balance depends on the fabric weight, the room size, and how often the curtains will be opened.
With the pleat style decided, the final step is to avoid the practical mistakes that most often lead to remakes.
Avoid the mistakes that cause remakes and wasted fabric
The errors I see most often are simple, but they are expensive. The first is measuring the window glass instead of the pole or track. The second is forgetting that rings, hooks, bracket depth, and finials all affect the finished position. The third is taking one drop measurement and assuming the floor is level when it usually is not.
- Do not measure to the decorative ends of a pole.
- Do not forget overlap on a split or corded track.
- Do not order the drop from memory after eyeballing the room.
- Do not ignore radiators, skirting, or furniture that changes the practical finish line.
- Do not round down aggressively if the room is even slightly uneven.
For a sustainable interior, this section matters more than it looks. A remake wastes fabric, lining, time, and transport, and that is avoidable if the first set of measurements is careful. I would rather spend ten extra minutes measuring than replace a pair of curtains because the final hem ended up 2 cm short.
There is also a planning detail people overlook: if the pole or track is still being chosen, its projection and position should be decided before the order is placed. Once the fixings are set, the measurements become much easier to trust, and the curtain maker has a cleaner brief to work from.
The final checks I use before I place the order
Before I send measurements to a curtain maker, I run through a short list. It sounds basic, but it catches the small errors that most often ruin an otherwise good order.
- Width recorded from the actual hanging hardware.
- Drop checked in three places and the shortest usable figure chosen.
- Finished length matched to sill, floor, or puddle intent.
- Fullness confirmed for the chosen pinch pleat style.
- All measurements written in one unit, preferably centimetres.
- Any radiator, floor slope, or ceiling fixing issue noted before ordering.
If a measurement falls between two sensible figures, I normally round the width up and keep the drop exact to the shortest reliable point. That combination usually gives the cleanest result without compromising the look. Measured this way, pinch pleat curtains stop being a guessing game and become a precise part of the room’s design, which is exactly what you want before you spend money on fabric and workmanship.