A built-in breakfast nook can make a kitchen feel calmer, more efficient, and easier to live with every day. The best versions combine the right footprint, a comfortable seat, durable materials, and a table arrangement that does not fight the room. In this article I focus on the practical decisions that matter most, from sizing and layout to costs, storage, and sustainable material choices.
What matters most before you build it
- A fixed banquette works best when you want to turn a corner, bay window, or awkward alcove into useful seating.
- Comfort usually starts at around 45-50 cm seat height, 45-55 cm seat depth, and a 74-76 cm table height.
- In the UK, a simple DIY build can stay relatively modest, but full bespoke joinery quickly moves into the thousands.
- Storage helps only when it does not steal knee space or make the nook feel bulky.
- FSC timber, low-VOC finishes, and removable covers are the easiest sustainability wins.
What a built-in breakfast nook does better than loose furniture
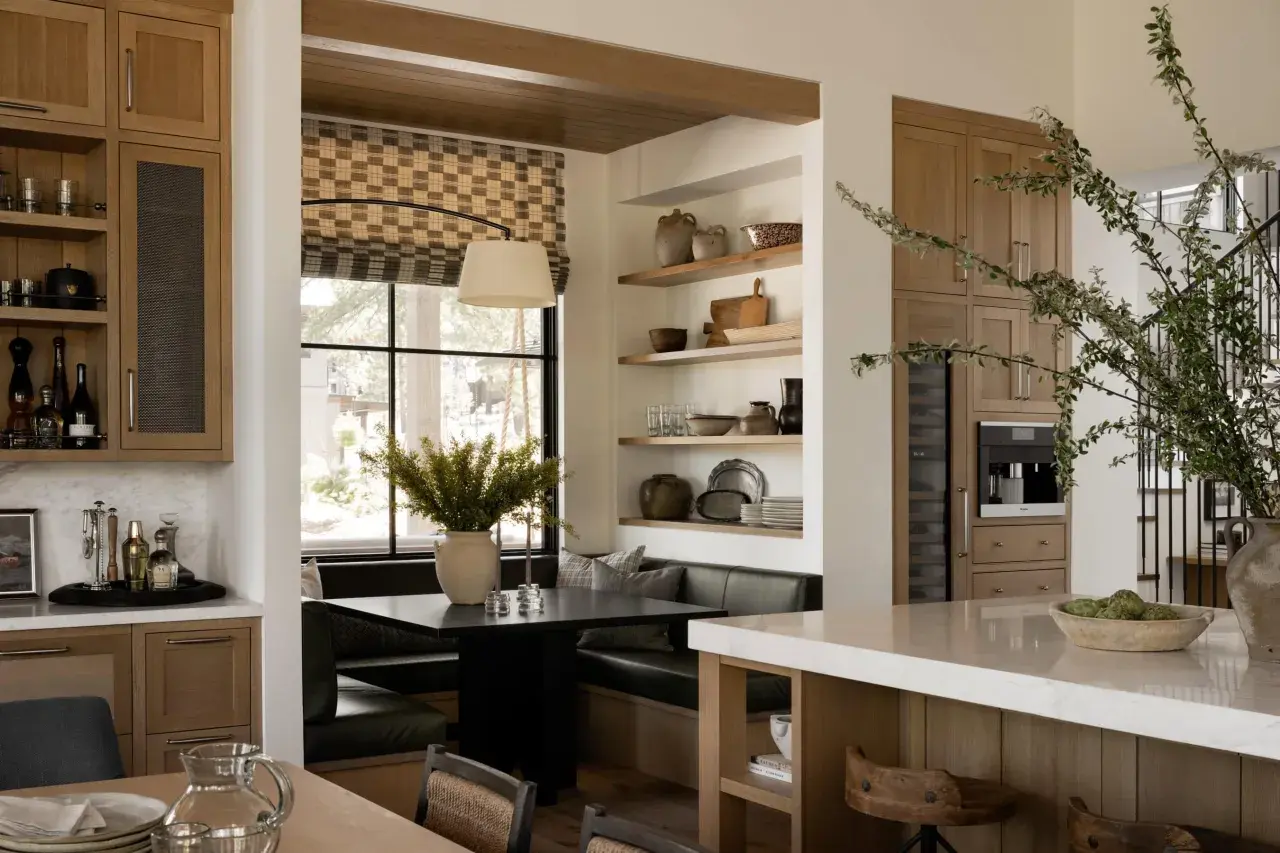
Banquette seating is a fixed bench, usually with a backrest, built into a wall, corner, or window bay. I like it because it solves a very specific kitchen problem: how to create a proper eating area without filling the room with too many separate pieces. In a compact UK home, that matters more than it sounds, especially when the kitchen already has to handle cooking, storage, and daily traffic.
The strongest argument for a built-in nook is efficiency. A bench can often seat more people than an equivalent run of chairs, and because it reads as part of the architecture, the room feels tidier and more intentional. It is also a strong choice when you want the breakfast space to double as a homework spot, laptop perch, or relaxed coffee corner rather than a formal dining zone.
There is one caveat I would not ignore: a built-in seat is less forgiving than loose furniture. If your household moves often, or if the room still needs to flex for entertaining, freestanding chairs and a small table may be the better decision. Once you know the room is ready for a fixed solution, the next step is getting the measurements right.
Get the proportions right before you sketch the joinery
Most bad nook designs fail on comfort, not style. I always start by checking the dimensions on the floor with tape before anyone cuts timber, because it is much easier to move masking tape than a finished bench.
| Measure | Practical target | Why it matters |
|---|---|---|
| Seat height | 45-50 cm | Keeps knees and table height in a natural dining position |
| Seat depth | 45-55 cm | Deep enough to sit comfortably without forcing a slouch |
| Table height | 74-76 cm | Matches standard dining proportions well |
| Clearance from seat to table | About 25-30 cm | Gives enough thigh room for daily use |
| Width per person | 60-70 cm | Prevents the bench from feeling cramped at the table |
| Circulation in front | 90 cm minimum, 100-120 cm preferred | Stops the nook from interrupting the kitchen flow |
Seat height and back angle
If you add thick cushions, lower the timber frame slightly so the final sitting height still lands in the comfortable range. I also prefer a backrest that leans back a little rather than standing perfectly upright; a slight angle feels more relaxed and less like a waiting-room bench. That small adjustment makes a bigger difference than most people expect.
Table position and legroom
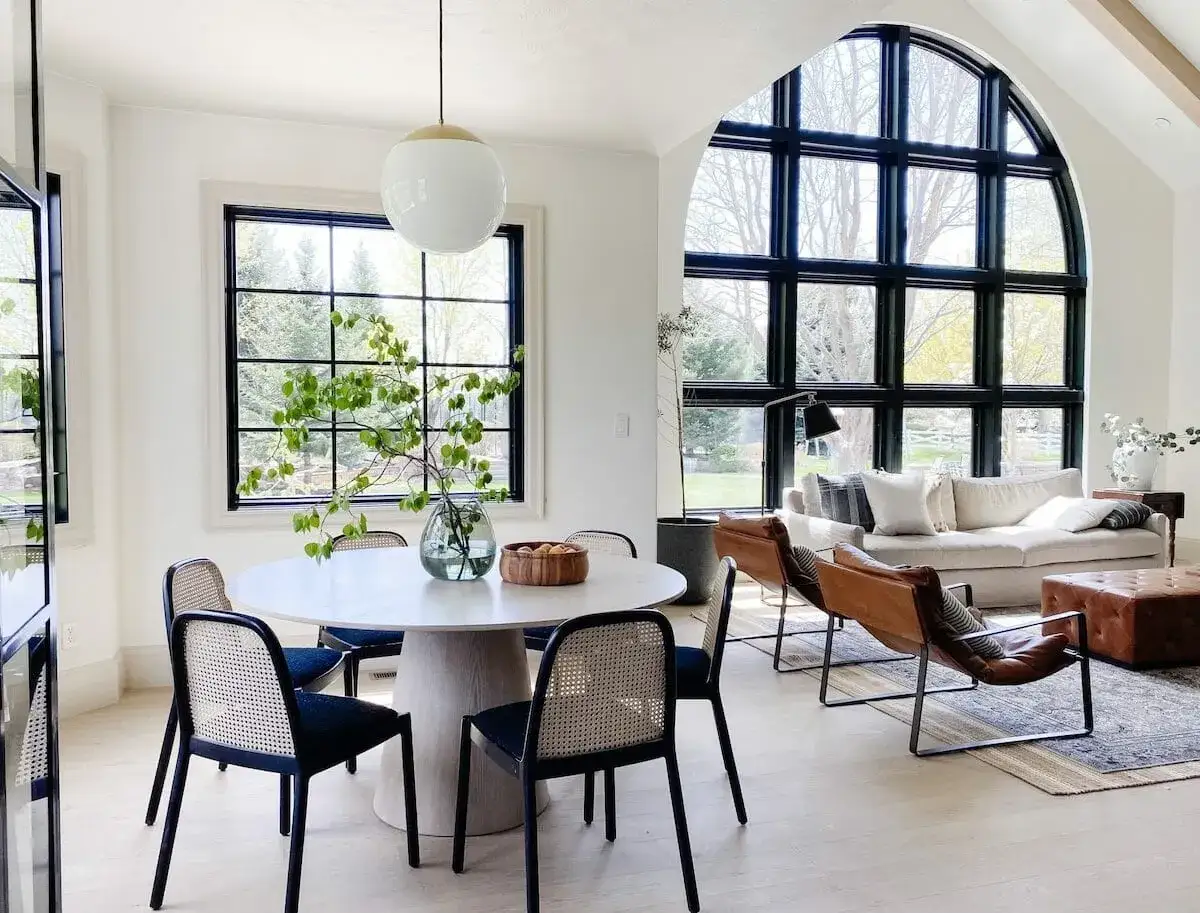
A pedestal table, which has a central base instead of four corner legs, usually works better than a chunky four-legged table because it gives knees and feet more room. If the nook sits in a traffic path, the table shape matters even more. Round or oval tables often feel softer in tight rooms, while rectangular tables are more efficient when the bench runs along a straight wall.
Once the proportions feel believable on paper and on the floor, the question becomes which layout suits the room rather than forcing the room to suit the layout.
Layout ideas that fit different kitchens
| Layout | Best for | Strength | Watch-out |
|---|---|---|---|
| L-shaped bench | Corners, compact kitchens, awkward alcoves | Makes good use of dead space and feels social | Can become too deep if both sides are oversized |
| U-shaped nook | Bay windows, larger family kitchens | Seats more people and can feel enclosed in a good way | Needs serious circulation room or it will feel boxed in |
| Straight bench | Narrow rooms or one clear wall | Lightest and simplest option | Usually offers less seating and less of a destination feel |
| Window seat with table | Bright alcoves and bay windows | Brings in daylight and softens a hard kitchen edge | Check radiator positions and sill height before committing |
| Peninsula wrap | Open-plan kitchens | Connects the breakfast area to the cooking zone cleanly | Can clash with appliance doors or main walk routes |
I usually choose the shape that follows the room’s geometry with the least effort. If the kitchen already has a strong corner, use it. If there is a bay window, let the bay do the work. If the room is narrow, keep the bench lean and avoid forcing a U-shape just because it looks appealing in a render.
In real homes, especially older UK properties, the plan also needs to respect skirting boards, uneven plaster, radiators, and door swings. A carpenter will often scribe the joinery, meaning they trim the unit so it follows walls that are not perfectly square, and that is exactly the kind of detail that separates a tidy built-in from one that looks improvised. Once the layout is settled, material choice decides whether the nook feels timeless or high-maintenance.
Materials and finishes that can survive real daily use
I think of this part as the difference between a pretty idea and a piece of furniture that genuinely earns its place. The most sustainable built-in is often the one you keep for years because it was made properly in the first place.
For the carcass and frame
For the hidden structure, I usually prefer good-quality plywood over cheaper, fragile alternatives because it is stable, strong, and easier to repair. FSC-certified timber is a sensible ask if sustainability matters to you, and it is a good fit for a site that values responsible home furnishing. Moisture-resistant MDF can still have a role in painted parts, but I would not let it dominate a build that needs to survive heavy use, movement, and occasional bumps.
For upholstery and cushions
Performance fabric is worth the money if the nook will be used every day. Recycled PET blends, tightly woven wool mixes, and other wipeable textiles make more sense than delicate fabrics that demand babying. I also prefer removable cushion covers whenever possible, because a seat that can be cleaned properly is a seat that stays in the home longer.
Read Also: UK Kitchen Cabinet Colours - Timeless Trends for Your Home
For the table and visible surfaces
A solid timber top is repairable and warm, while a well-made veneer or compact laminate can be a smarter material-efficient choice if you want less waste and easier upkeep. Low-VOC paints and water-based finishes are also worth specifying, especially in a kitchen where odours and emissions matter more than people admit. If you want the room to feel calm rather than busy, keep the palette restrained and let the texture do the work.
Material choice also shapes the budget, and that is where many projects get misread. The next step is to separate the appealing idea of a nook from the actual cost of making it properly.
What the budget really covers in the UK
The total price depends on whether you want a simple bench, a local carpenter’s build, or a full bespoke joinery package with upholstery and integrated storage. I find it more useful to think in bands than in a single headline number, because the gap between a clever DIY hack and a fully finished architectural feature is huge.
| Budget band | What it usually covers | Typical use |
|---|---|---|
| £400-£1,200 | DIY frame, paint, off-the-shelf cushions, basic table | A compact refresh or a lower-risk first attempt |
| £1,500-£3,500 | Made-to-measure carpentry, fitted cushions, simple storage | A neat semi-bespoke nook for everyday use |
| £3,500-£8,000 | Full custom joinery, upholstery, integrated storage, custom table | A permanent family breakfast zone |
| £8,000+ | Premium materials, complex shapes, electrical work, bespoke detailing | A high-spec feature that behaves like part of the architecture |
That range is not a promise, but it is a realistic working frame. The biggest cost drivers are usually joinery hours, upholstery, site finishing, and any extra work such as moving sockets, handling a radiator, or correcting a wall that is not as straight as it looked on paper. I would also keep a 10-15% contingency, because small changes in trim, paint, or cushion thickness are common once the room is measured for real.
One thing I would not do is compare a bare bench quote with a fully finished package and assume one supplier is expensive. If a price includes templating, scribing, finishing, and cushions, it is simply a different product. Once the money is clear, the final lift comes from the small details that make the nook feel genuinely built for the room.
The small details that make it feel custom instead of cramped
This is the section where a good idea becomes a comfortable room. A built-in nook succeeds when the details are quiet and purposeful, not when every surface tries to make a statement at once.
- Choose a pedestal or central-base table if knee space is tight.
- Use cushions with removable covers so the seat can be cleaned properly.
- Keep under-seat storage shallow if deep boxes would make the base feel bulky.
- Place lighting over the table, not just on the ceiling, so the nook reads as its own zone.
- Allow ventilation near radiators and do not box in heat with a sealed carcass.
- Add a socket if the nook will also be used for homework, working, or charging devices.
I would also think carefully about the visual weight of the bench. A low, slim base with a clean finish often feels better than an oversized box stuffed with storage drawers. The goal is not to squeeze every possible feature into one corner; it is to make the seating area feel easy to use.
If the nook is near a window, I prefer a blind or a simple shade over heavy drapery, because it keeps the light clean and avoids visual clutter. If it sits in an open-plan kitchen, a pendant or pair of wall lights can help it feel like a destination rather than a leftover gap in the plan. Those details are subtle, but they are usually what people notice every day without knowing why the room works.
How to make it stay useful after the novelty fades
When I am thinking long-term, I rank the decisions like this: fit first, comfort second, material quality third, styling last. That order is not glamorous, but it is what keeps the nook useful after the novelty wears off.
- Keep the seat dimensions honest, even if it means the layout is slightly simpler.
- Choose finishes that can be repaired, wiped down, and repainted.
- Make storage helpful rather than oversized.
- Use a table shape that supports the room instead of dominating it.
- Let the nook solve a real problem, such as awkward space or poor circulation, rather than adding it just because it looks nice in photos.
If I were planning one now, I would treat the bench as architecture first and furniture second. Get the dimensions right, choose materials you can live with, and only then add the cushions, lighting, and storage that make it feel complete.