Brass can lift a room, but only when dirt, fingerprints and oxidation are handled the right way. This guide explains how to clean brass safely, when a mild wash is enough, when tarnish needs a proper polish, and when it is better to leave the finish alone. I’m also focusing on furniture fittings and mixed materials, because brass often sits beside wood, stone, lacquer or fabric and those surfaces change the rules.
The safest approach is to match the method to the finish
- Test first: if a magnet sticks, the piece is likely brass-plated and should not be polished aggressively.
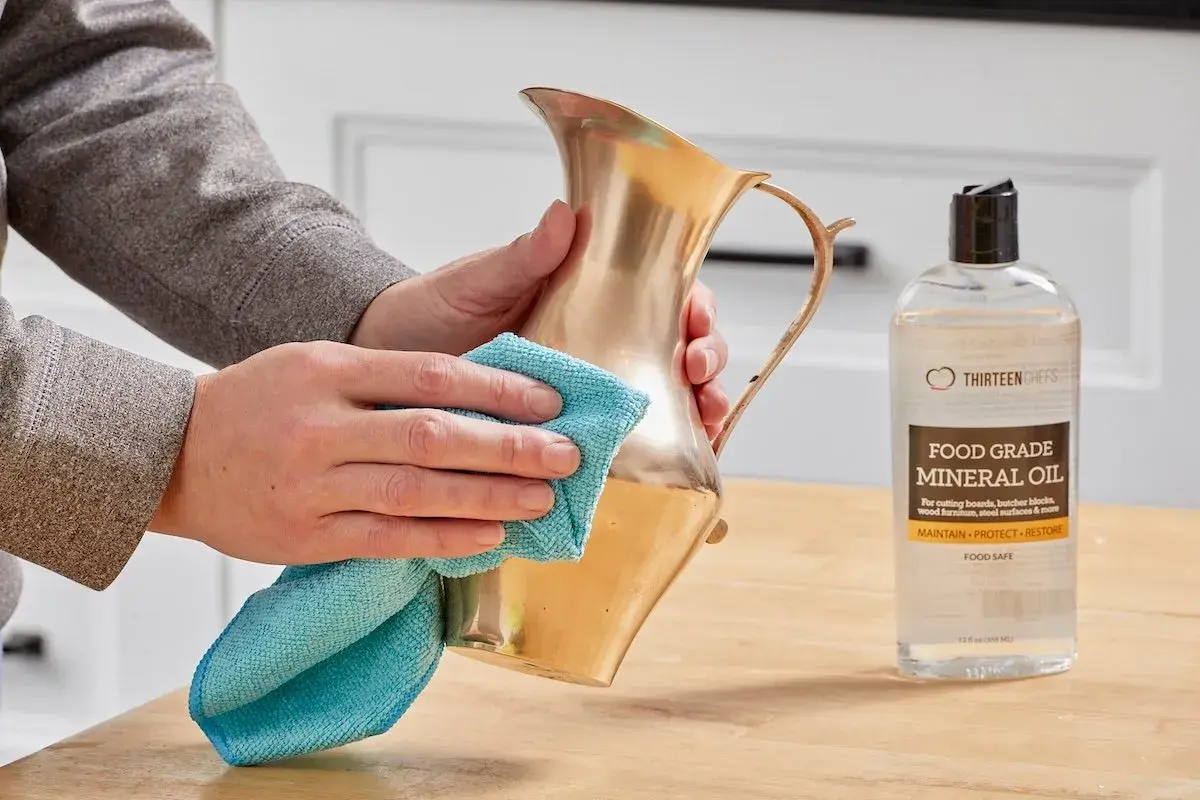
- Lacquered brass usually needs only warm water, a little washing-up liquid and a soft cloth.
- Plain solid brass can handle gentle DIY pastes when tarnish is visible, but start with the least abrasive option.
- Furniture hardware needs extra caution because acids and moisture can stain wood, veneer, stone and textiles nearby.
- For antiques, preserving patina often matters more than restoring a bright shine.
Check the finish before you touch the tarnish
I always start here, because the wrong cleaner can do more damage than the dirt itself. Brass is not one single surface: it may be solid brass, brass-plated, lacquered, or unlacquered, and each behaves differently once water, oils and air have done their work.
Solid brass vs brass-plated
A simple magnet test helps. If the magnet sticks, the item is probably brass-plated rather than solid brass. That matters because abrasive cleaning can scratch through the thin brass layer and expose the base metal beneath. On plated pieces, I keep things mild: warm water, a little washing-up liquid and a soft cloth are usually enough.
Lacquered vs unlacquered
Lacquered brass has a protective coating that slows tarnish. If that coating is intact, harsh cleaners and polishing pastes can dull it or lift it unevenly. Unlacquered brass is different: it is exposed, so it will darken over time and pick up a natural patina. On older furniture and decorative hardware, that lived-in surface can be part of the appeal, not a flaw to erase.
If you see flaking, a cloudy film, or a finish that is coming away in patches, I would stop there and treat it as a repair question rather than a cleaning job. Once you know what you are dealing with, the cleaning process becomes much safer and much more predictable.
A gentle routine for dust, grease and fingerprints
Most brass does not need a dramatic rescue. In everyday homes, the real problem is usually a mix of dust, skin oils and light surface grime, especially on handles, lamps, table legs and drawer pulls. My rule is simple: remove the loose dirt first, then decide whether tarnish actually needs treatment.
- Dust the piece with a dry microfibre cloth to remove grit.
- Mix warm water with a few tablespoons of washing-up liquid in a bowl.
- Wipe the brass with a soft cloth dipped in the solution, then wrung out well.
- Use a soft toothbrush only for grooves, edges or decorative detailing.
- Wipe again with a clean damp cloth to remove residue.
- Dry the surface immediately with a fresh cloth so water marks do not form.
This routine is especially useful on furniture fittings, because it cleans the metal without flooding the surrounding material. If the brass is fixed to wood, veneer, marble or upholstery, I use a barely damp cloth rather than soaking anything. That small restraint keeps moisture out of joints, edges and seams, which is where damage tends to start.
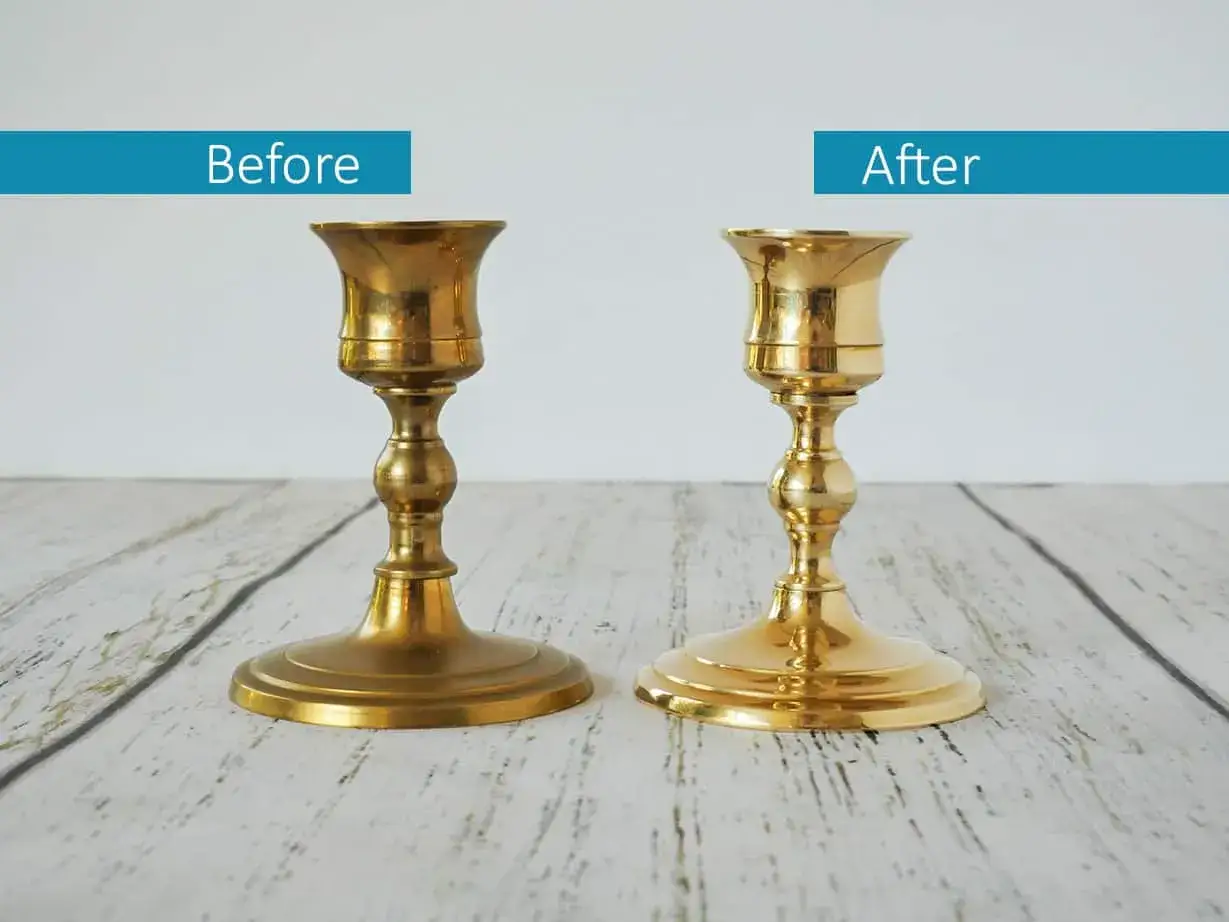
When tarnish needs more than soap and water
Once the brass is clean, you can judge the tarnish more accurately. A little dullness is normal; heavy darkening or greenish oxidation means you need a mild polishing method. I prefer the least aggressive option that still does the job, because over-polishing removes material and can flatten detail over time.
| Method | Best for | Typical time | Risk level |
|---|---|---|---|
| Warm water and washing-up liquid | Dust, grease, fingerprints and light soil | 5 to 10 minutes | Very low |
| Lemon and baking soda paste | Light to moderate tarnish on solid brass | A few minutes of rubbing | Low, if rinsed and dried well |
| Flour, salt and vinegar paste | Heavier tarnish and more stubborn film | About 10 minutes | Moderate, if left on too long |
| Tomato-based paste | Detailed pieces and smaller decorative items | Up to an hour for stubborn spots | Moderate |
| Dedicated brass polish | Quick restoration on robust, uncoated brass | 10 to 20 minutes | Moderate to high, depending on the product |
Read Also: MDF Off-Gassing: What You Need to Know for a Safer Home
The DIY methods I trust most
For light tarnish, I usually start with a paste made from the juice of half a lemon and 1 teaspoon of baking soda. Apply it with a soft cloth, rub gently, then wipe away the residue with a damp cloth and dry completely. It is simple, inexpensive and usually enough for decorative items that only need a refresh.
For tougher tarnish, I move to a paste made from 1 teaspoon of salt, 1/2 cup of vinegar and about 2 tablespoons of flour. The flour gives the mixture body, so it clings to the surface instead of running off. Let it sit for around 10 minutes, then rinse and dry well. I like this method for small brass pieces with even tarnish, but I would still avoid it on plated or lacquered surfaces.
Tomato-based cleaners are a useful oddity. They work because tomatoes contain mild acid, so ketchup or tomato paste can help lift tarnish from detailed surfaces. I treat this as a practical backup, not a hero method, and I would use it only on decorative brass where a little extra residue is not a problem. Whatever method you choose, test a hidden area first and stop if the metal looks patchy or strangely matte.
For very stubborn tarnish, a commercial brass polish can be faster, but I read the label carefully and avoid anything that is not specifically meant for brass. On furniture pieces, I also keep polishes away from surrounding wood and textiles, because residue is harder to remove from those surfaces than from the brass itself. That is one reason I still prefer pantry methods for most home care: they are lighter, cleaner and easier to control.
Cleaning brass on furniture and mixed materials
Brass on furniture is a different job from a standalone candlestick or bowl. Handles, hinges, feet and trims sit close to other materials, and that means your cleaning method has to protect more than the metal. If I am working on a chest of drawers, cabinet or table, I think about the whole object, not just the brass detail.
- Keep liquids minimal around wood, veneer and joints so moisture does not seep in.
- Place a cloth or towel underneath removable hardware before cleaning it.
- Avoid acidic pastes on marble, stone, leather or fabric that sit next to the brass.
- Use a soft brush only on carvings, not on surrounding finishes that could scratch.
- Do not polish brass-plated fittings unless you are certain the plating is thick enough to tolerate it, which is rarely worth guessing.
On older furniture, I am cautious about removing every trace of age. A warm patina on brass handles or escutcheons can suit the piece and the room around it, especially in interiors that value honest materials and visible use. If the brass is part of a heritage or vintage object, a gentle clean is usually better than a full brightening. In practice, that often means dusting and washing rather than polishing.
How to keep brass looking good with less effort
The easiest way to avoid heavy tarnish is to stop it from building up in the first place. High-touch brass picks up skin oils quickly, and bathroom or kitchen pieces tarnish faster because of humidity. I keep the maintenance schedule light but regular, because consistency does more than aggressive annual cleaning ever will.
- Clean frequently touched brass, like handles and pulls, about once a month.
- Wipe decorative pieces once or twice a year unless they sit in a damp room.
- Dry brass immediately after cleaning, and also after splashes or condensation.
- Use a soft cloth for routine dusting instead of reaching for polish every time.
- Store spare brass items in a dry place if they are not in use.
If you are choosing new brass for a kitchen, bathroom or furniture piece, the finish matters as much as the shape. Lacquered brass is lower maintenance and better if you want a steady look. Unlacquered brass is more expressive, but it will age and darken, which is either a benefit or a drawback depending on the room. From a sustainable design angle, I like the fact that a living finish can be left alone rather than constantly chased back to a showroom shine.
When I would stop and treat brass as a conservation job
There is a point where cleaning stops being maintenance and starts becoming intervention. If a brass object is antique, structurally delicate, or mixed with valuable woodwork, I would be careful not to force it into a brighter state than it wants. Patina, especially on older furniture fittings, can be part of the object’s history and visual balance.
I would also stop if I saw deep corrosion, loose fittings, peeling lacquer or signs that a previous polish has already thinned the surface. In those cases, repeated DIY cleaning usually gives diminishing returns and increases the risk of scratches or stain transfer to the surrounding materials. For everyday home pieces, though, the rule stays the same: begin gently, test a small spot, dry thoroughly and only move up to stronger methods if the brass truly needs it.
Used this way, brass is easy to keep attractive without overworking it. That approach fits furniture, fittings and decorative objects alike: clean only as much as the piece needs, respect the finish that is already there, and let the material keep some of its character instead of stripping it back to nothing.