What matters most in a budget kitchen refresh
- Keep the existing layout if plumbing, electrics, and storage already work.
- Spend first on cabinets, lighting, and one durable surface rather than on decorative extras.
- Repainting or refacing usually beats replacement when the cabinet boxes are still sound.
- Allow money for labour, waste removal, and a 10-15% contingency, even on smaller projects.
- Choose low-VOC paint, LED lighting, and reused components if you want the update to feel lighter on the planet as well as on your wallet.
Start with the smallest scope that still solves the problem
When I plan a kitchen update, I divide it into three broad bands: a cosmetic refresh, a partial upgrade, or a full budget renovation. That distinction matters because the cheapest project is not always the one with the lowest sticker price; it is the one that avoids unnecessary layout changes, rewiring, and plumbing moves.
| Scope | Typical spend | Best for | What I would avoid |
|---|---|---|---|
| Cosmetic refresh | A few hundred pounds to around £2,000 | Solid cabinets, tired finishes, dated lighting | Moving appliances, knocking through walls, chasing a new layout |
| Partial upgrade | Roughly £2,000 to £6,000 | Good structure but weak doors, worktop, or splashback | Replacing everything just because one element feels old |
| Budget renovation | About £6,200 to £16,800 | Units, fitting, and a more noticeable overhaul | Cutting corners on installation or hidden essentials |
Checkatrade’s UK 2026 cost guide puts a full budget renovation at roughly £6,200 to £16,800, with an average around £11,500, and fitters typically charging £250 to £350 a day. That is the point where I usually ask a blunt question: do you actually need a new kitchen, or do you need a smarter finish on the one you already have?
HomeOwners Alliance makes a similar point from another angle, noting that a brand new kitchen can come in under £10,000 when you keep to budget-friendly suppliers and make thoughtful choices about fronts and components. Once the scope is clear, the next question is simple: which changes will be noticed every time you walk into the room?
Spend first where the room shows wear fastest
Not every improvement has the same visual return. Some changes are almost invisible, while others transform the room before anyone notices the new paint colour. I usually prioritise the parts that are touched daily, seen from the doorway, or responsible for how practical the kitchen feels during cooking.
| Upgrade | Effort | Visual payoff | My take |
|---|---|---|---|
| Cabinet handles and knobs | Low | High | One of the quickest wins if the layout is staying put. |
| Task lighting | Low to medium | Very high | Better light makes even modest finishes look more deliberate. |
| Tap and sink area | Low | Medium to high | A dated tap makes the whole room feel older than it is. |
| Splashback | Medium | High | Useful when the wall finish is chipped, stained, or simply dull. |
| Flooring | Medium to high | Medium | Replace it when it is worn out, not merely because it is unfashionable. |
I would generally rather improve the light and the touch points than spend money on decorative extras. A kitchen with good task lighting and better hardware feels sharper immediately, even if the units themselves are still the original ones. From there, cabinet work becomes the most important decision in the room.
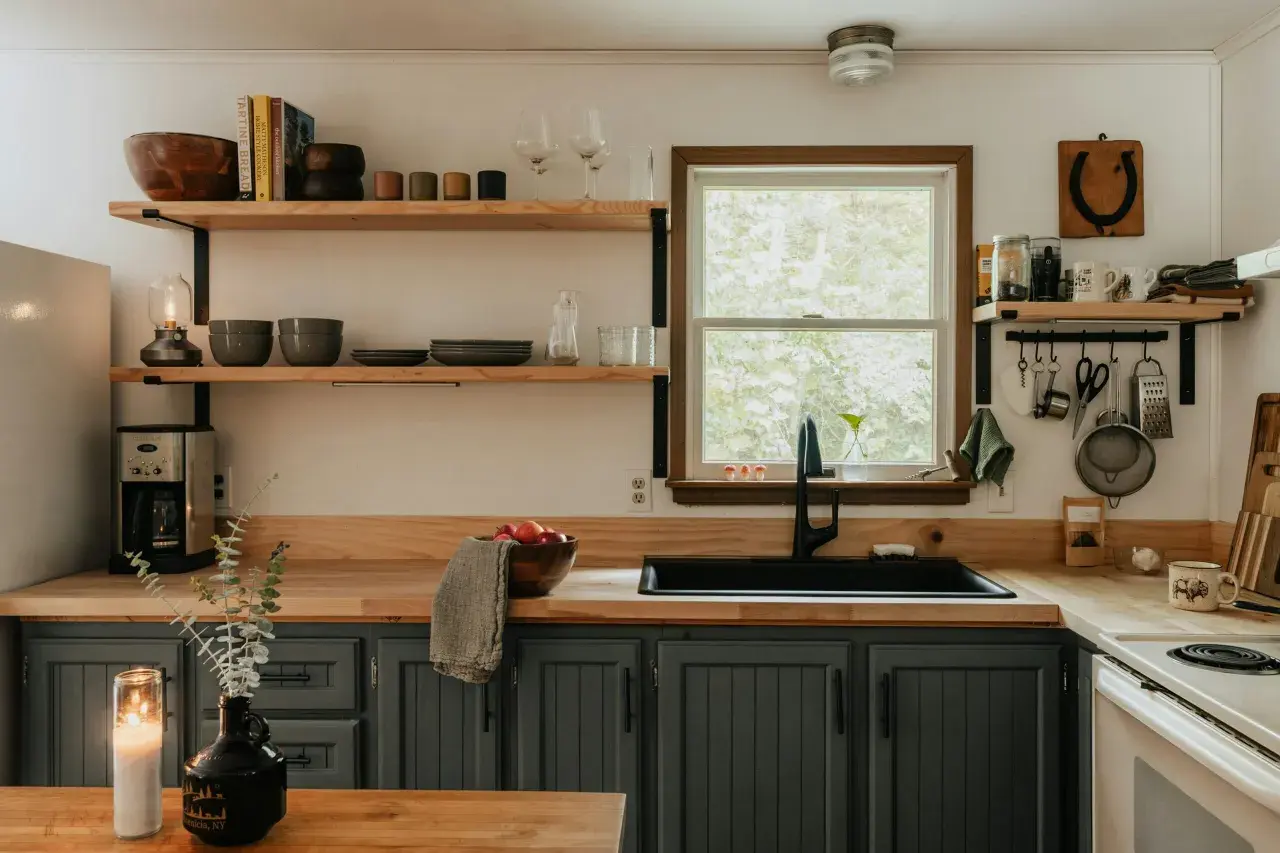
Refresh cabinets before you touch the carcasses
If the cabinet boxes are structurally sound, I treat them as an asset, not a problem. Replacing them too early is usually where a modest project stops being modest. The real question is whether the doors, drawers, and finish are the parts failing, or whether the whole run has genuinely reached the end of its life.
Paint when the doors are solid but tired
Painting is the cheapest visible transformation, but it rewards preparation more than enthusiasm. Clean off grease, sand the surface, prime properly, and use thin coats rather than one heavy one. Low-VOC paint is a sensible choice here because it supports better indoor air quality and fits the more sustainable end of a kitchen refresh.
This route works best when the doors are flat or simple in profile and the existing hinges still function well. It is less convincing if the doors are swollen, badly chipped, or already warped, because paint does not disguise structural damage.
Reface when the boxes are good but the style is dated
Refacing means keeping the cabinet carcasses and replacing the visible parts: doors, drawer fronts, and sometimes side panels. It is a sweet spot for many UK kitchens because it gives a much newer look without the mess and waste of ripping everything out. You keep the layout, keep more of the original material, and spend where it shows.
That is also where a good mix of materials can help. Darker lower fronts with lighter wall units can add depth without making the room feel heavy, and a simple slab door often reads more expensive than a busy profile once it is installed cleanly.
Finish with the right hardware
New handles, hinges, and backplates are small in cost but large in effect. If the existing screw holes do not line up, backplates are useful because they cover old marks and make the upgrade look intentional. I would rather have one clean hardware style across the whole room than a mix of nearly matching pieces that looks accidental.
In practice, cabinet fronts and hardware are often the best place to spend before anything else. Once that layer feels resolved, the surfaces around it have to work harder to let the room down.
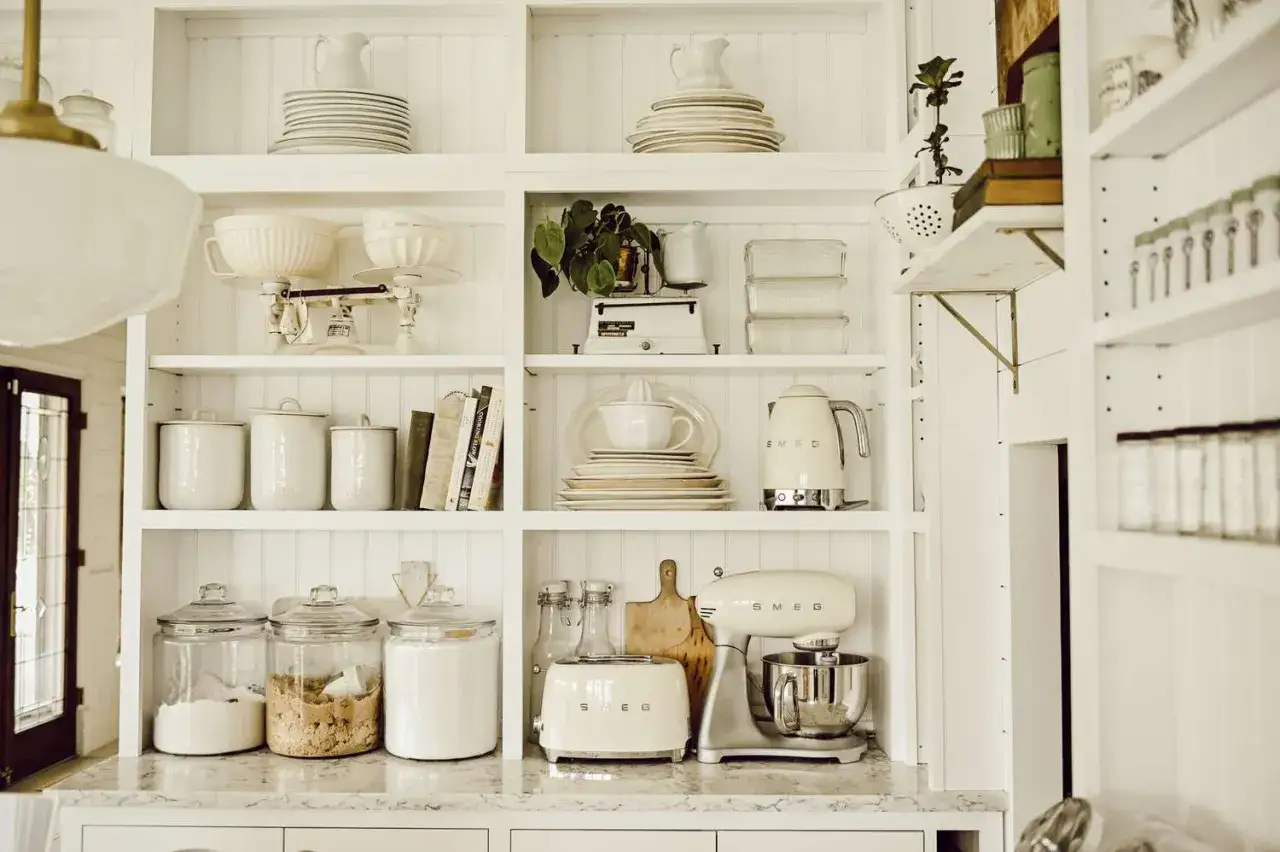
Choose worktops, splashbacks and lighting with restraint
This is the part where people often overspend on one surface and then underfund the rest of the room. I prefer the opposite approach: use a sensible, durable worktop, keep the splashback clean and wipeable, and make sure the lighting flatters the finishes rather than fighting them.
Pick a worktop that suits the project, not the showroom
Laminate is still the value leader when the goal is a fresh look rather than a prestige material. It gives you the flexibility to update a tired kitchen without absorbing a huge chunk of the budget. Solid wood brings warmth and can be repaired, but it needs more care. Quartz or stone can be a strong choice if you are only covering a small area or if the budget comfortably allows it, but I would not force it into a project that is already tight.
Use the splashback to clean up the room visually
A good splashback does more than protect the wall. It creates a clear line that makes the whole kitchen feel more finished. Ceramic or porcelain tiles tend to be the safest bet for long-term durability, while acrylic or other quick-fit panels can work as a temporary or rental-friendly fix. The key is to choose something that looks deliberate, not like a placeholder you meant to replace later.
Read Also: Kitchen Island Bar Stool Height - Get It Right Every Time
Let lighting do more of the design work
Under-cabinet LED lighting, a stronger pendant over the dining or prep zone, and a better ceiling layout can change the atmosphere faster than another decorative accessory. LEDs are also one of the easiest energy-conscious upgrades to make. In a budget kitchen, I would rather have excellent task lighting and simple finishes than a showy surface that is hard to live with.
These surface choices matter because they control how finished the kitchen feels. The next trap is less visible: the hidden costs that quietly eat the budget while you are focused on style.
Avoid the costs that appear after the quote
The biggest budget mistakes are rarely dramatic. They are usually small decisions that add up: changing the layout halfway through, ordering before final measurements are confirmed, or assuming a low quote includes everything. I always build in some slack because renovation projects have a habit of revealing awkward surprises once the old kitchen comes out.
- Keep plumbing and gas in place unless there is a clear reason to move them.
- Measure carefully and do not order fixed items until the final sizes are confirmed.
- Get at least three quotes for any trade work that is not DIY.
- Set aside a 10-15% contingency so one surprise does not derail the whole plan.
- Budget for waste removal, disposal, and any patching or making-good that the new finishes will expose.
Labour is often where a modest refresh becomes expensive. If electrics, plumbing, or gas are involved, I would use qualified trades without trying to squeeze those jobs into a DIY plan. That is not just about safety; it is also about avoiding rework, which is the most expensive kind of waste there is.
Once the hidden costs are under control, the project becomes much easier to shape around the kind of home you actually want to live in.
Leave the kitchen easier to live with, not just nicer to photograph
The most sustainable kitchen upgrade is often the one that avoids unnecessary replacement. Reusing carcasses, donating workable units, and choosing durable finishes keeps material out of landfill and usually saves money at the same time. I also like to think about the everyday routines that happen in the room, because practicality is what keeps a makeover feeling good six months later.
That means adding a recycling zone that is easy to reach, using storage that keeps worktops clear, and choosing finishes you can clean without babying them. It also means resisting trendy details that only look good from one angle. A kitchen that is calm, easy to wipe down, and well lit tends to age far better than one built around a single seasonal look.
If I were doing this tomorrow, I would keep the layout, refresh the cabinet faces, upgrade the lighting, and stop there unless the room had a genuine functional problem. That sequence gives the best mix of visual change, cost control, and lower waste, which is exactly what a smart kitchen refresh should do.